Classic Danish Dough
makes 20-30 pastries, depending on sizeAfter making danishes in my classical pastries class in culinary school, I set out to perfect them at home. I’ve tried shortcuts like frozen puff pastry and alternative dough methods, but nothing compares to the real thing.
Classic danishes are made with a yeasted dough laminated with butter. They’re similar to croissants but enriched with eggs, which gives them a softer, more tender texture. I’ve balanced the dough with just enough sweetness, making it perfect for both savory and sweet fillings.
This isn’t a quick or easy recipe, but it’s one of the most rewarding and delicious pastries you can make. I’ve broken down each step with clear instructions and helpful tips so even if you’re new to laminated dough, you can succeed. Since this dough takes time, I designed the recipe as a larger batch—so you can freeze extras and enjoy fresh danishes anytime.
WHAT YOU’LL NEED
INGREDIENTS
Danish Dough
5 cups all-purpose flour (660 g)
⅓ cup granulated sugar (70 g)
4 teaspoons instant yeast (16 g)
3 teaspoons Diamond Crystal or 2 ½ teaspoons Morton Kosher Salt (16 g)
1 cup whole milk, room temperature (240 g)
5 tablespoons lukewarm water (75 g)
2 large eggs, room temperature
Butter Block
4 sticks (1 pound) unsalted butter, preferably European butter with 82-85% butterfat, slightly softened (454 g)
DIRECTIONS
Make the Dough
If using a stand mixer: In the mixer bowl, combine flour, sugar, yeast, salt, milk, water, and eggs and mix with a spatula until roughly combined. Attach the dough hook and mix on medium-low speed until a smooth ball forms, about 5-7 minutes.
If kneading by hand: In a large bowl, whisk together flour, sugar, yeast, and salt. In a separate bowl, whisk together milk, water, and eggs. Add wet ingredients to dry and mix with a spatula until a shaggy dough forms. Knead in the bowl until it starts coming together, then transfer to a lightly floured surface and knead until smooth and elastic, about 7-10 minutes.
(Note: If you press your finger into the dough, it should bounce back.)
Transfer dough to a lightly greased bowl, cover with plastic wrap, and let rise in a warm spot until about doubled in size, around 1 ½ hours.
Make the Butter Block
Turn out the risen dough onto a lightly floured surface and press into an 11-12 inch square, pulling the corners to keep them sharp. Transfer to a parchment-lined sheet tray, cover with plastic wrap, and refrigerate while preparing the butter block.
Fold the ends of a large sheet of parchment paper in to create a 9-inch square envelope shape (this will hold the butter).
Open the parchment, place butter in the center, then refold, enclosing the butter and keeping the folds sharp. Flip so the folds are face down, then pound with a rolling pin to spread. Roll until the butter fills the parchment envelope evenly, ensuring it's spread to all four corners.
Refrigerate for 15-20 minutes until the butter is cool but pliable—it should bend without breaking.
(Note: Ideal butter temperature for lamination is 55°F. If you have a probe kitchen thermometer, you can poke it through the parchment to take the temperature of the butter before using. Ideally, the dough should be a similar temperature or slightly cooler, between 40-50°F.)
Enclose the Butter & Laminate
Place the chilled dough on a lightly floured surface and position the butter block diagonally in the center, so it looks like a diamond inside a square.
Fold each corner of the dough over the butter, meeting in the center. Press edges together to completely seal the butter—no butter should be exposed.
Press down gently across the dough with a rolling pin to evenly distribute the butter. Roll into a rectangle no more than ¼ inch thick, keeping edges as straight as possible. Trim ends if needed.
With the short side of the dough facing you, fold the top third down, then the bottom third up (letter fold). Press gently to seal. Cover with plastic wrap and refrigerate for 15-20 minutes.
Repeat this process two more times, rolling the dough into a rectangle with the short end facing you before folding, covering with plastic wrap, then refrigerating.
(Note: If the dough shrinks back while you're rolling, chill it for 10 minutes to allow the gluten to relax. You shouldn’t need much flour to keep the dough from sticking to the surface, but add flour as needed. If you see exposed bits of butter, sprinkle them with flour and make sure that part of the dough is fully enclosed on the next turn.)
After the third and final letter fold, wrap the dough and refrigerate for 30 minutes to 1 hour before shaping.
(Note: At this stage, you could instead refrigerate the dough overnight, or freeze until ready to use. If frozen, let the dough thaw completely before following rolling and shaping process below.)
Roll Out & Shape
I recommend cutting the dough in half and rolling out one portion at a time, keeping the other chilled in the fridge. Roll out the dough to a ¼-inch thick rectangle, trimming the edges to keep them straight.
Cut into desired shapes. I prefer cutting into 3.25" - 4" squares to help minimize excess scraps.
Transfer the cut dough to a parchment-lined sheet tray. Prick the center of each piece with a fork to prevent excessive puffing. Top as desired, then cover with plastic wrap and let proof in a warm spot until puffed up, about 1 hour.
Brush the top exposed edges of the dough with egg wash. Bake at 375°F (190°C) for 18-22 minutes until golden brown and flaky.
RECIPE NOTES & TIPS
Can’t decide how to use it? I’ve made both a sweet and savory version: Lemon & Blueberry Cream Cheese Danish or the Shakshuka Danish
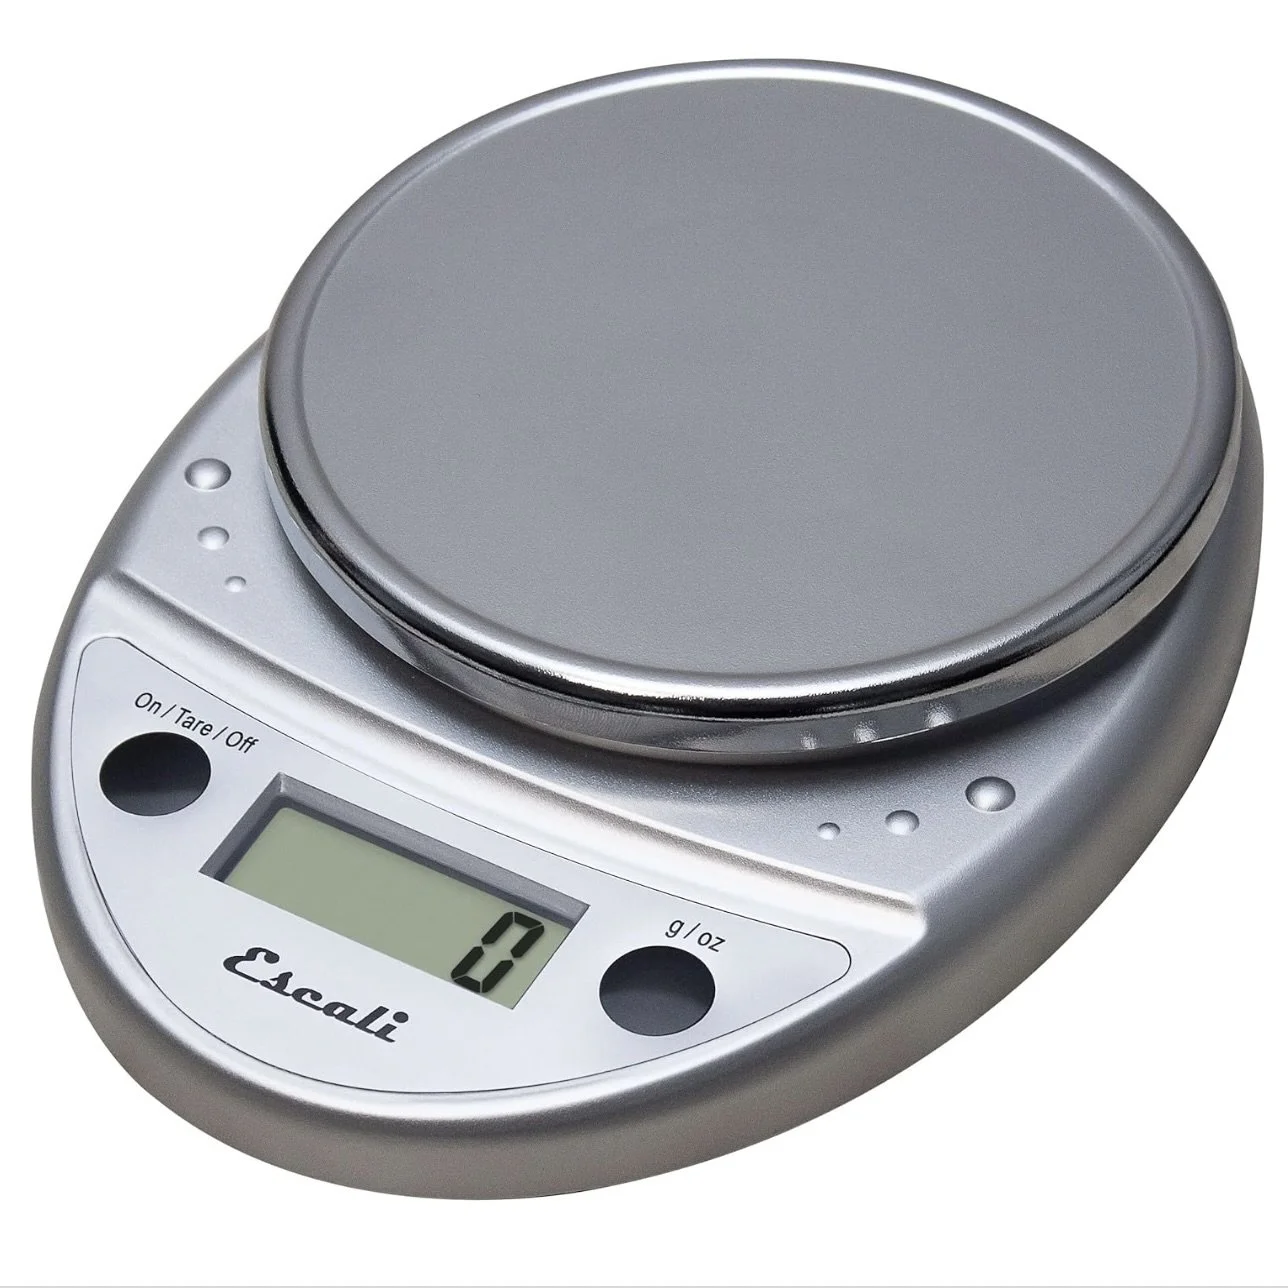
To be precise and consistent when baking, I recommend using a Digital Food Scale. The one I linked is relatively inexpensive and in my opinion, a great investment for any home kitchen! But if you don’t have one, I’ll always include cup measurements as well.
Once baked, danishes freeze very well—just be sure to wrap them tightly. To reheat from frozen, place them on a parchment-lined sheet tray and bake in a 375°F oven for about 10 minutes until warmed through.
I call for European butter, ideally 85% butterfat, because it has lower water content than standard American butter, which is typically around 80% butterfat. Less water means the butter stays softer and more pliable during rolling, making it easier to create even, well-defined layers. This results in cleaner lamination and a flakier final product. Great options include Danish Creamery, Kerrygold, or Plugrá.
The rise times vary depending on the temperature of the dough and the room. The dough could rise in a faster or longer time than what I have listed. Go based on how the dough looks, rather than the time. If it isn’t rising well, place it in a turned-off oven with a larger pan of boiling water on the rack below, then close the door. This creates a warm, humid environment ideal for rising—just be sure no one accidentally turns the oven on!


